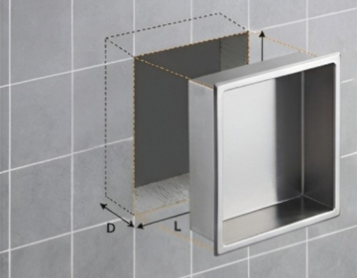
01
Frame
Make space in the wall as per niche dimensions with margin for fixing adhesive, sealant, or silicon.
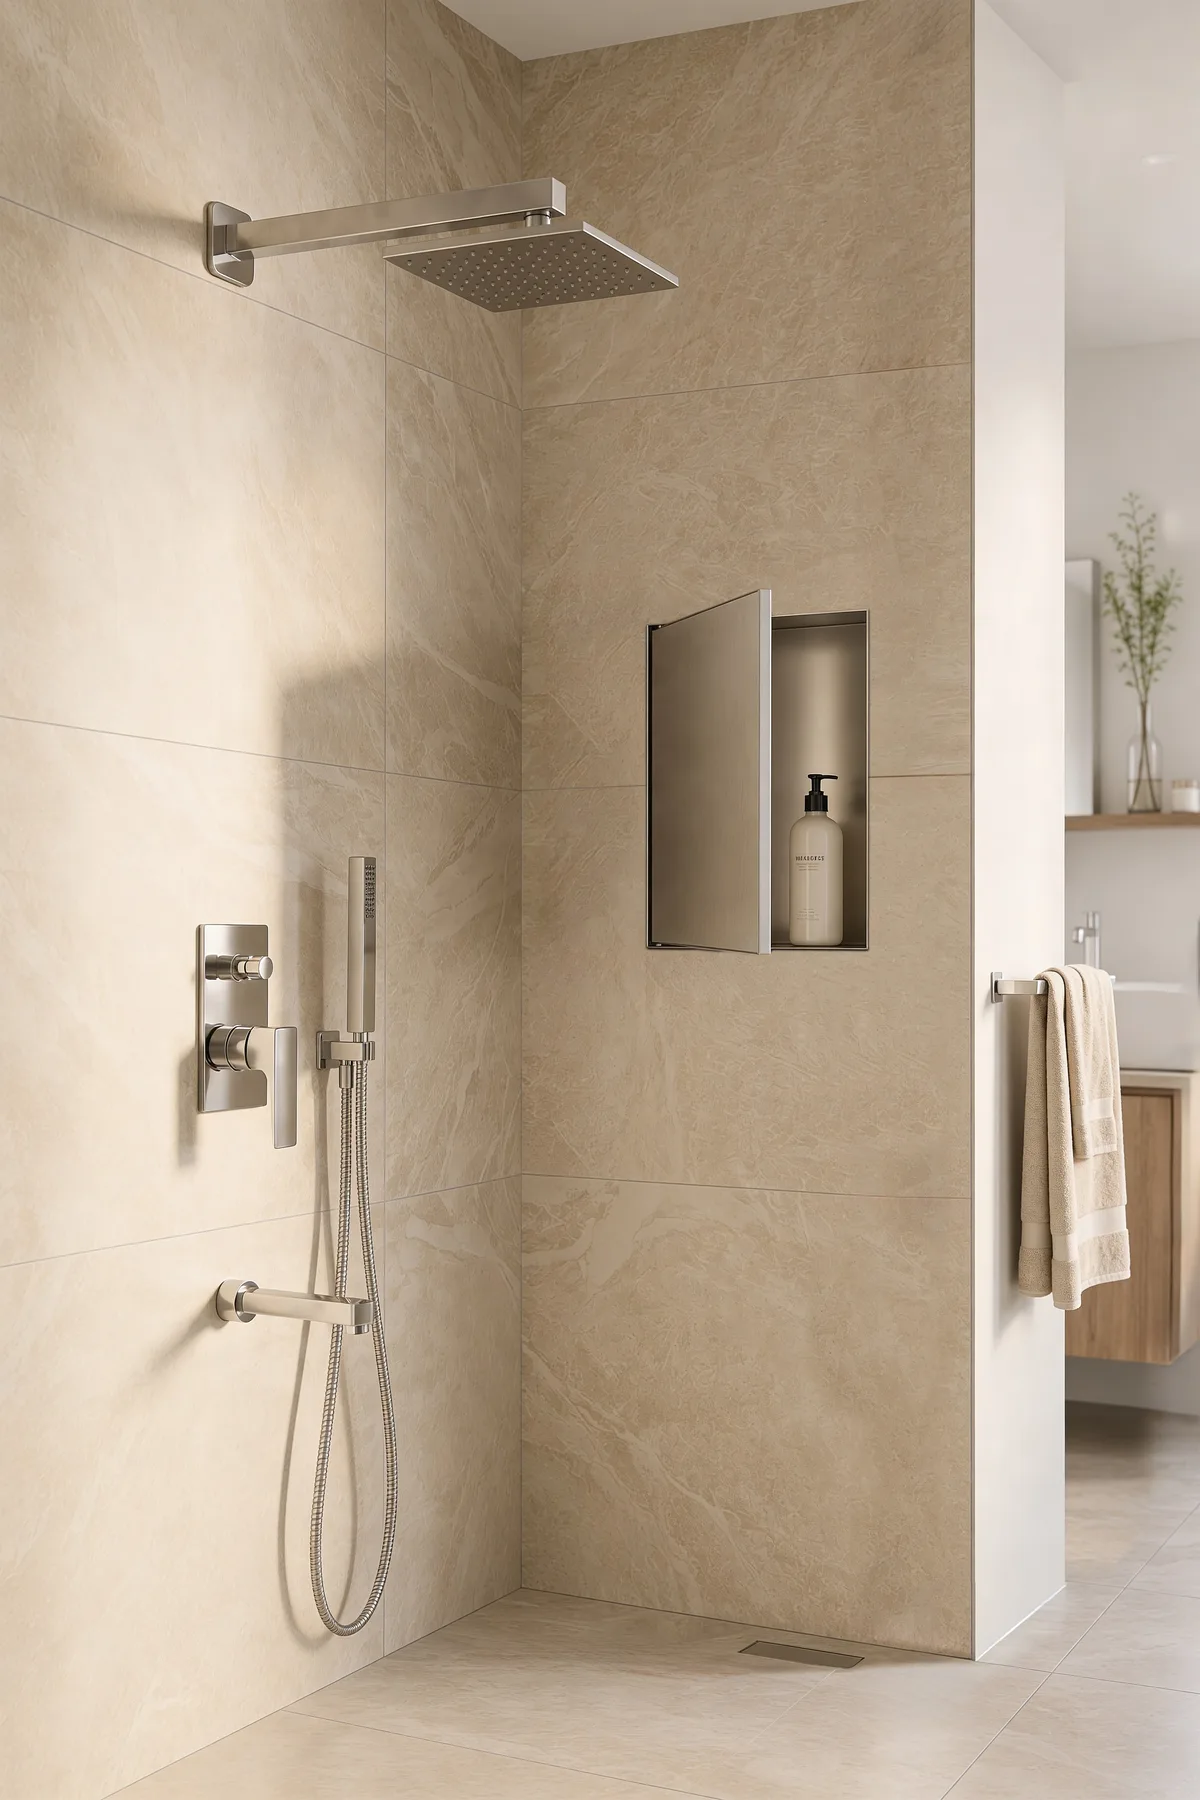
LUVINOX wall niches are designed for pre-tile or post-tile installation. Follow the catalogue guide to frame, seal, set, and finish the niche with clean edges and reliable structural support.
Download PDF Make space in the wall as per niche dimensions with margin for fixing adhesive, sealant, or silicon.
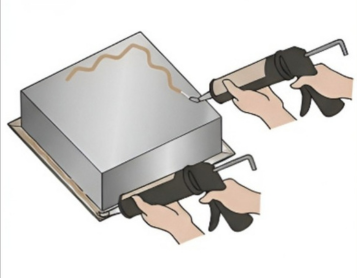
Apply a consistent bead of high quality adhesive or sealant to the back flanges for structural support.
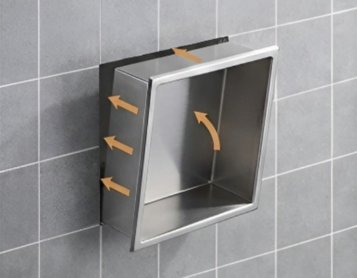
Insert the niche into the rough opening. Level and secure using construction adhesive or suitable fasteners.
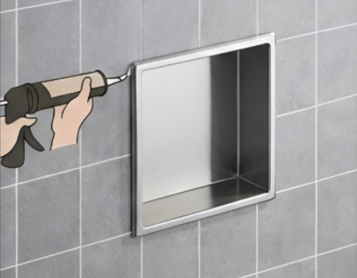
Apply matching colour adhesive or sealant to frame edges, clean extra material, and finish the frame neatly.
Check plumbing, electrical routes, tile grid, and finished wall thickness before installation. Spotlight models should be coordinated with the electrical plan.
Catalogue models commonly reference 90 mm depth. Confirm actual model depth before preparing the recess.
Seal the surrounding substrate properly so the niche remains reliable in wet areas and shower zones.
Clean brushed, coated, or PVD surfaces with non-abrasive care after tile and sealant work is complete.
